My Caramel Cardigan
Most of my projects have been socks or shawls but I was keen to knit a cardigan.
Most of my knitting projects have been socks or shawls in the last couple of years. I was keen to knit myself a sweater or cardigan. The last sweater I knitted was when I was in my early 20s!!
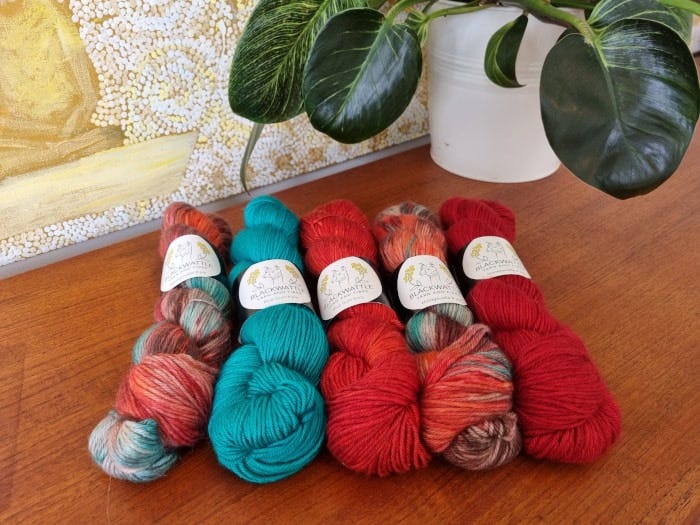
On a trip to Black Wattle Yarns, I bought some gorgeous yarns that caught my eye. I love the combination of turquoise and red.
I used Black Wattle Yarns Bluegum DK/8 ply-55% super washed Blue Faced Leicester, 45% silk – Fired Up colorway (red) and Aquamarine (turquoise). Honey Suckle – DK/8ply 70% baby alpaca, 20% silk, 10% cashmere – Courageous Soul colorway (multicolored) and Plum Siren Solid colorway (plum red).
I selected 5 skeins and asked Angela (the owner of Black Wattle Yarns) and her team if that’s enough for a sweater. They said yes 🙂
Knowing how much yarn I had meant I could search Ravelry for a suitable project. I was keen to do stripes with my chosen yarns and a cardigan rather than a sweater.
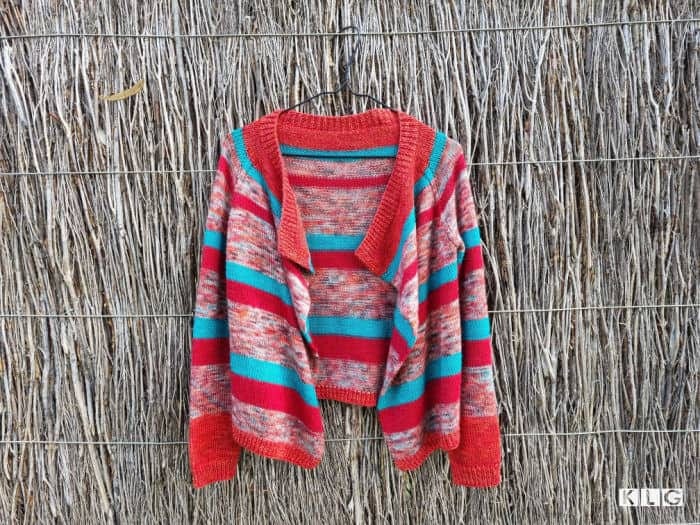
I looked through many designs. One of Isabell Kraemer’s first designs caught my eye – The Caramel Cardigan.
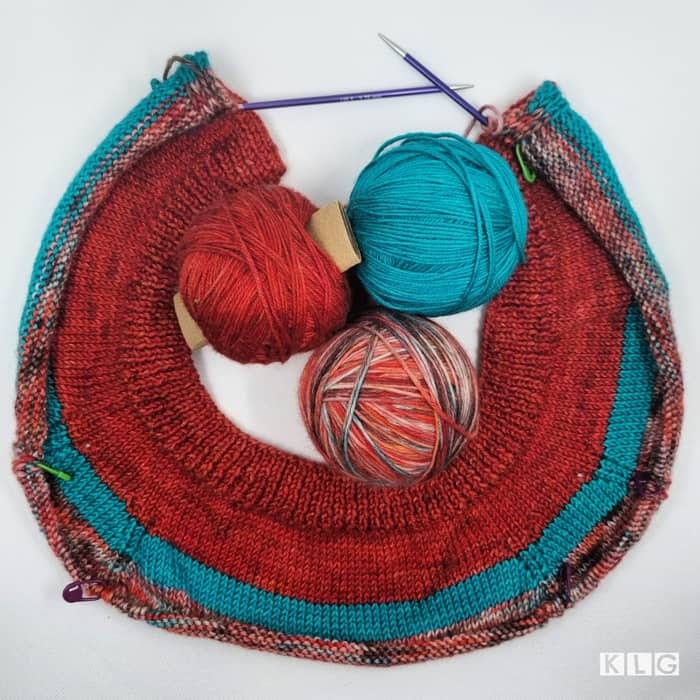
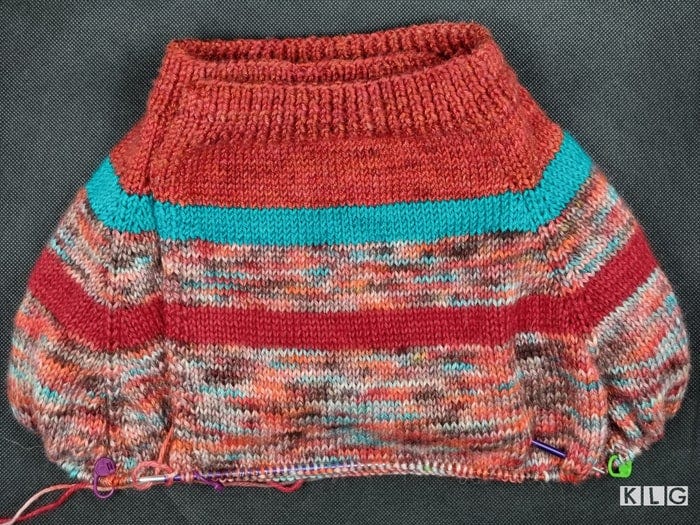
I figured due to the yarn colorways I’d chosen, I’d create different stripes, rather than one main and one contrast color. I’ve never knitted a top-down construction and was keen to try.
I was determined to reach the gauge given in the pattern.
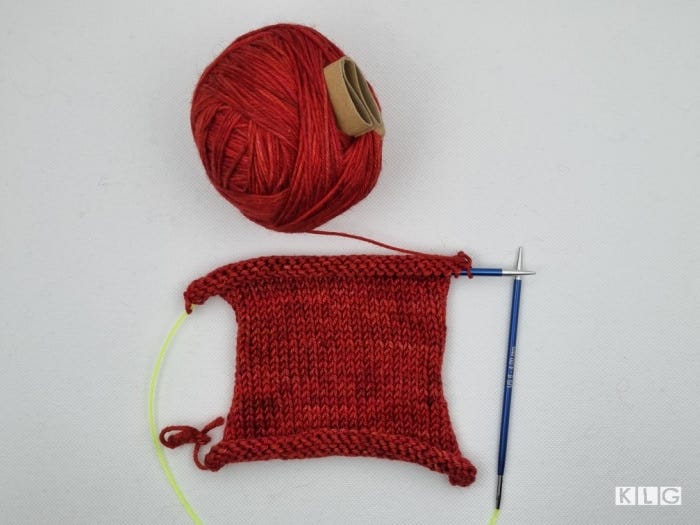
I swatched twice – once with a US6/4.00mm needle as the yarn I had recommended that size. Then with the US5/3.75mm needle.
I reached the gauge required with the smaller size.
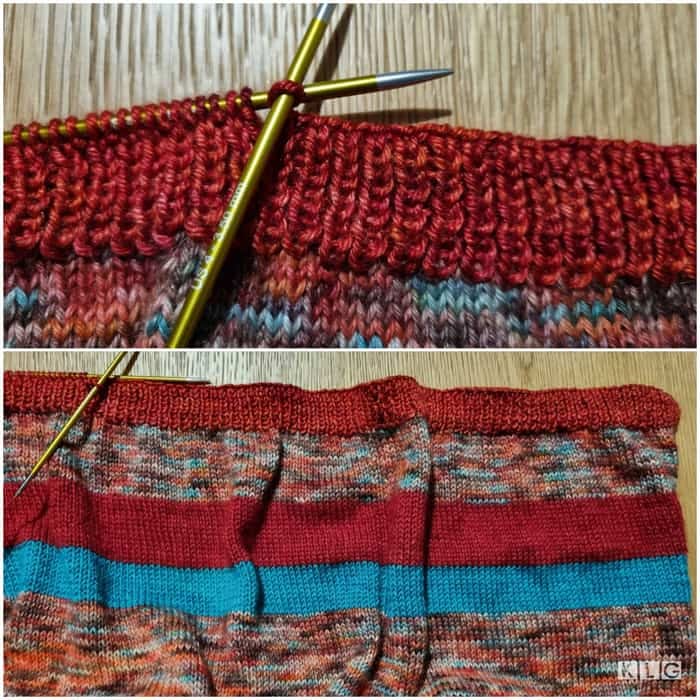
The pattern begins with a 1×1 rib for the neck. I worked this with the 3.75mm needles and found I didn’t like how big the stitches looked. I ripped back the ribbing and tried again with a 3.5mm needle. For a review of these needles see here.
I looked online for tutorials of how to get a neater rib. Norman from Nimble Needles has an in-depth look at methods to achieve more uniform stitches in ribbing.
The ribbing I did with the smaller needles was better, but I’m hopeful after blocking it’ll look smoother. The design uses raglan increases which produce an interesting feature. The gaps are noticeable, which I’m not keen on.
I got to part of the pattern where it asked me to do increase rows and I was confused. Fortunately, a moderator for the pattern on Ravelry was generous enough to reply with her explanation.
Reading the pattern instructions again made sense. I’m so thankful to the kind people who share their expertise and help on Ravelry!
Knowing what to do with the increase rows meant I could merrily knit away. I find stockinette stitch simple to do. I even practiced not looking at my stitches to knit!
I continued knitting flat back and forth until the sleeve stitches needed to be placed on waste yarn.
I was nervous about placing the sleeve stitches on waste yarn. I used a tapestry needle to pick up the stitches from the needle. Eventually all 60 stitches for each sleeve were off the needle and on the waste yarn.
I found this tutorial by Button and Blue easy to follow. Thank goodness for the wonderful knitters who provide these tutorials!
Once the sleeve stitches were safely held, I continued knitting the body. The seam stitches on each side were maintained throughout.
They comprised p1, k2, pl on the right side and k1,p2,k1 on the right side. The seam stitches add interest to the overall look of Isabell’s design.
I aimed to keep weaving in my ends in batches rather than leave them all right until the end. I left cutting the woven in ends until after blocking. I didn’t want to have yarn threads popping out.
Finishing the body was straightforward. Doing all knit stitches is easy just like what I did for my Chasing Light shawl.
For the cast off at the bottom, I trialed a few techniques. I liked the look of the tubular cast off for 1×1 ribbing. It’s like the Kitchener stitch which seamlessly grafts stitches. It’s magic, the way you use a tapestry needle to create a seamless join.
Norman from Nimble Needles has a great tutorial on cast off methods. At timestamp 30.01 he demonstrates the tubular cast off for 1×1 Rib.
The seam stitches were maintained in my cardigan and so the ribbing wasn’t all in K1, P1. So after doing a couple of swatches to see how it turned out, I wasn’t convinced the Tubular cast off was the right choice. I also tried Jeny’s Stretchy bind off and that didn’t look right.
I ended up using the traditional cast off method. This is where you knit a stitch and then purl a stitch. There are two stitches on your right hand needle.
Bring the first stitch on your right hand needle over the second stitch of your right hand needle which binds off one stitch. This method is continued until all stitches are cast off.
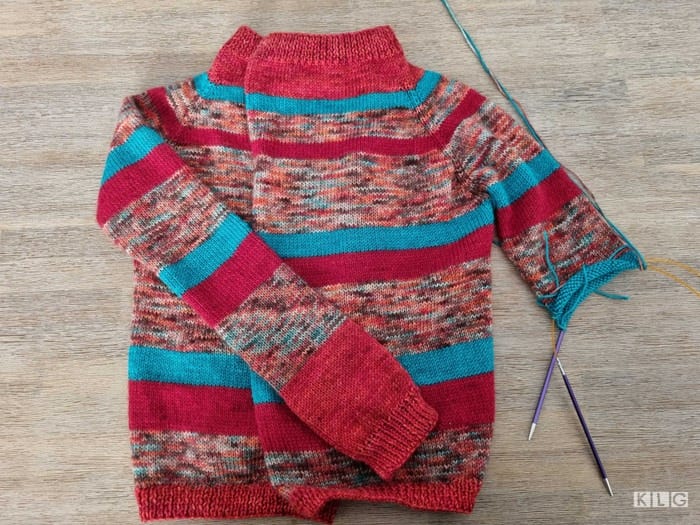
Once I cast off the bottom of the body, I returned to the sleeves. The pattern called for DPNs to knit the sleeves. I chose the magic loop method, using a circular needle, as I’ve had a fair bit of practice knitting socks using magic loop.
When I got to the section where I needed to get the sleeve stitches that were held on waste yarn, back onto my needles using magic loop, I referred to the video tutorial below by Elizabeth Knits. It was helpful and easy to understand.
I noticed after a few rows of knitting the sleeve, there was a big hole underneath the arm. I researched how you avoid this by picking up stitches. To me who is a total beginner with an issue like this, I thought the seam stitches wouldn’t look right being picked up. I chose to sew up the hole as neatly as possible.
I chose to knit the XS/S size as the measurements given were for a 90cm bust. The sleeves are a snug fit and it would have been better to have chosen the Medium size.
I modified the pattern for the sleeves, and decreased the stitches after more rows than the pattern said. I wanted more length, so knit more rows. I was surprised at how quickly I knitted this cardigan. Quick for me that is!
Also I could have done with more fabric for the body. Perhaps after blocking there’ll be a change in the fit as the fiber will relax. I adore the feel of the yarns I’ve chosen. The Baby Alpaca, cashmere and silk blend is super luxe. The Blue Faced Leiceister/Silk blend is not as soft but has a lovely texture.
It’ll be interesting to see what they’re like after washing and blocking. I’m thinking I’ll need a new long sleeved top to compliment the new cardy 🙂
Once I had finished the knitting I washed and gently blocked my cardigan. I placed my finished cardigan in luke warm water for 30 mins and gently squeezed out the excess water.
I rolled it up in a towel to remove more water. Then I laid it flat on a towel on a table. To block it I gently moved the fabric with my fingers. The sleeves still look skinny and will be a snug fit.
The colors sing to me. A few people commented on my updates on socials – the colors “Pop” and are “Cheery”.
I agree! There’s something satisfying in making a garment, knowing all the work that’s gone into it and wearing it at the end. One day I’d like to knit Marie Wallin’s Yell jacket. It’ll be an investment of time and money and a huge learning curve!
Enjoy this newsletter? I'd appreciate it if you share it with a friend or on your favorite platform: (social media, emails, chat groups…) Thank you so much!


