My Starburst Beret
A crochet pattern by B.Hooked Crochet.
I was searching through crochet beret patterns looking for something special, and a particular image caught my eye. It was a lovely-looking flower-patterned beret.
The pattern was called ‘Starburst Beret’ from BHooked Crochet. So I clicked on the link, and I found a free pattern and an excellent video tutorial.
I started a beret with some blue yarn first from a stash I got from an Opportunity Shop, and when I’d almost finished, I ran out of yarn!
I tried again with the green yarn, and luckily I had enough to finish the beret.
The yarn I used was relatively soft but a little scratchy, but not unbearably so. I love the color, a dark forest green.
With the yarn being from a charity shop, there were no details about what yarn it was, so I can’t give more information about it.
The pattern by Brittany of BHooked Crochet suggested 1 skein of Manos del Uruguay Maxima or approximately 160 yards worsted weight yarn.
The pattern was classified ‘Experienced,’ but I found it relatively easy. If you’ve done several crochet projects, I think you’ll find this pattern good fun. It’s not suitable for beginners.
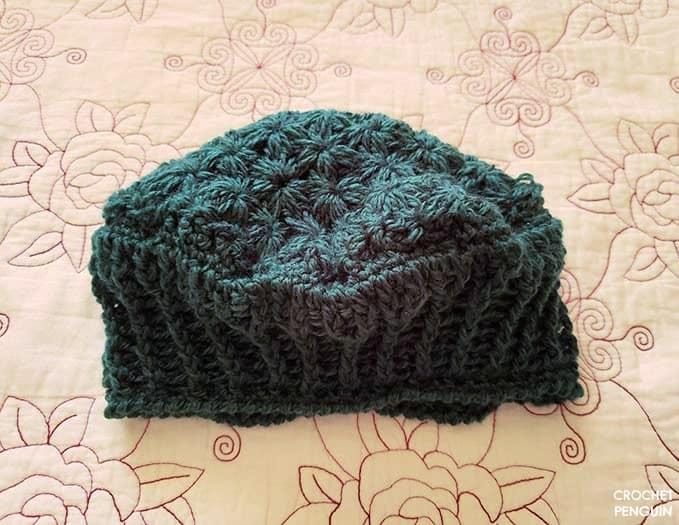
The pattern was made up of jasmine stitches, single crochets, reverse single crochets, and post stitches.
There’s a video for left-handers and right-handers, which is excellent, so if you are leftie and need a bit of help with the beret, the video for left-handed crocheters would be very helpful for you.
The first step was starting the flower part of the beret, which took a while.
I used the video for the whole process, which made it easier because it showed you how to do the stitch rather than just telling you.
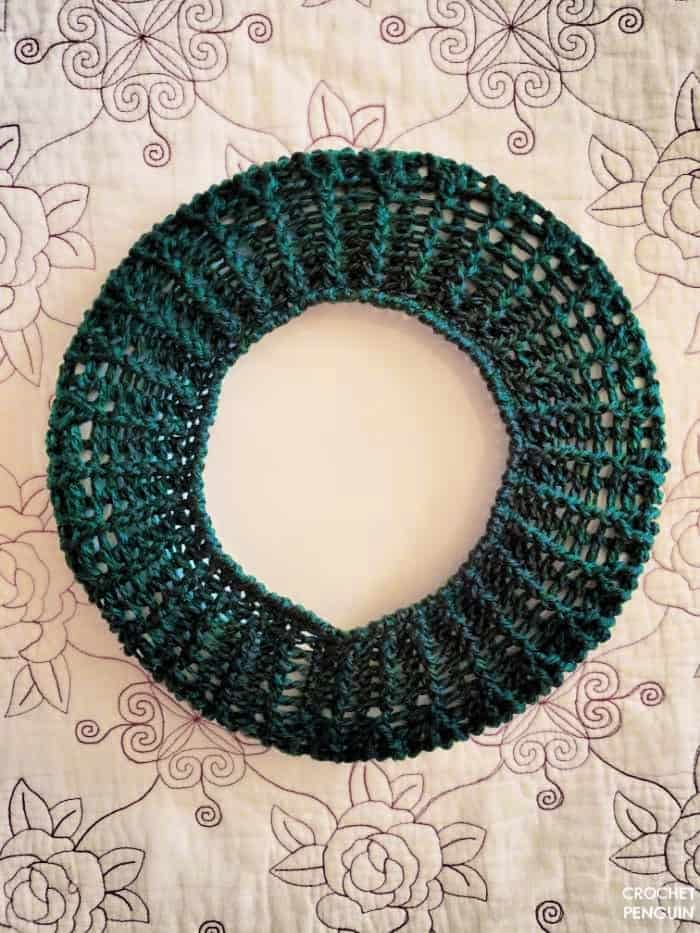
I moved onto the beret’s ribbed band, which was made up of front and back post stitches. Then I did the last step, a reverse single crochet border.
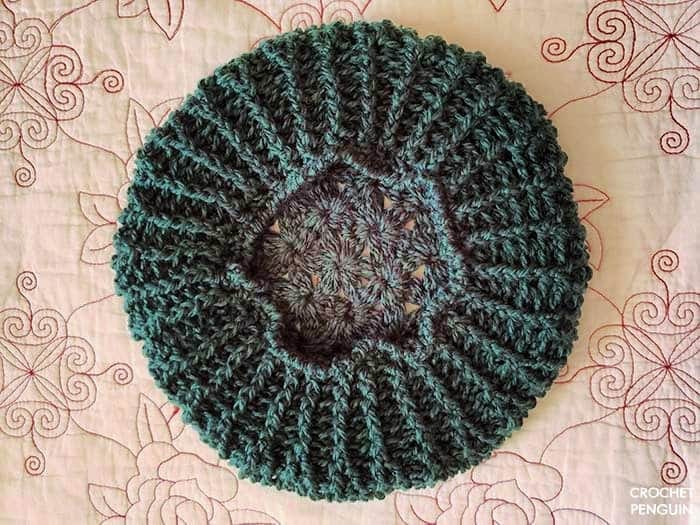
I especially loved Brittany’s tips on how to block the beret when you completed it. She said to put the beret on a dinner plate, wet it, then leave it to dry. My beret turned out much neater and round once it had dried.
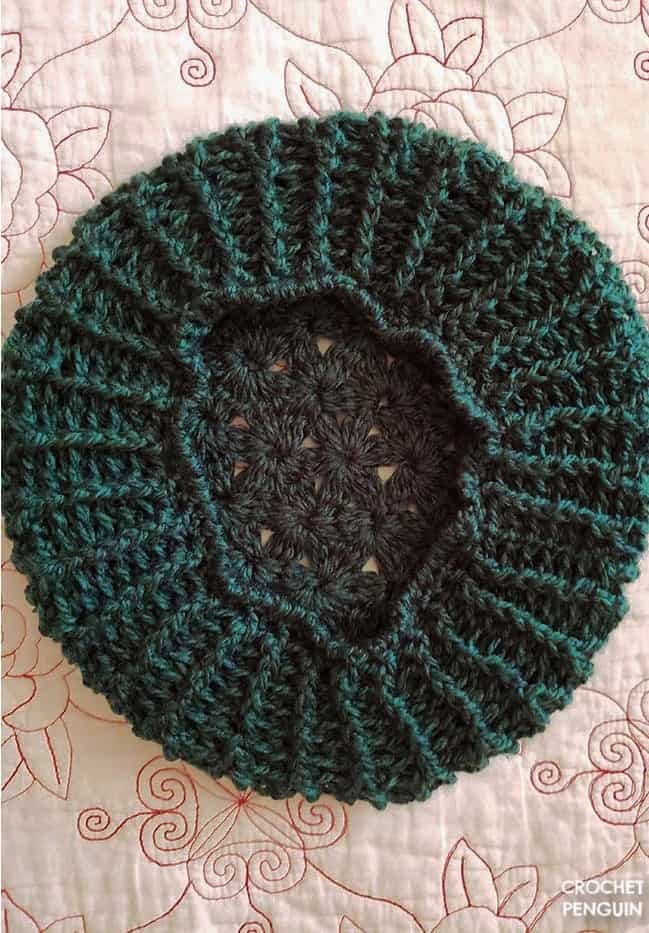
I love this beret. The jasmine stitch is very beautiful, and the ribbed band gives it a nice stretch, so it fits over your head. I believe you can wear it on both sides. Even the wrong side is pretty!
All in all, I loved how my beret turned out! If you’re thinking about crocheting a beret, I highly recommend this pattern.
Enjoy this newsletter? I'd appreciate it if you share it with a friend or on your favorite platform: (social media, emails, chat groups…) Thank you so much!


